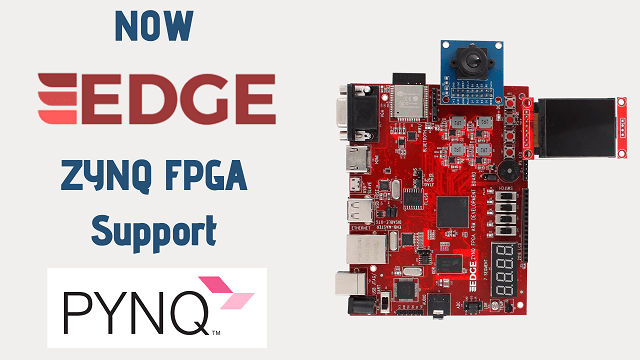
This guide will show you how to setup your computer and EDGE ZYNQ SoC board to get started using PYNQ.

Table of Contents
Prerequisites
- EDGE ZYNQ SoC FPGA board
- Computer with web browser like Chrome, Firefox
- Ethernet cable
- USB cable and 5v USB adaptor ( used for mobile charging purpose)
- Micro-SD card with preloaded image, or blank card (Minimum 8GB recommended)
MicroSD Card Setup
- Download the EDGE ZYNQ SoC PYNQ image
- Unzip the image
- Write the image to a blank Micro SD card
Writing the SD Card Image
Windows OS
Insert the Micro SD card into your SD card reader and check which drive letter was assigned. You can find this by opening Computer/My Computer in Windows Explorer.
Download the Win32DiskImager
https://sourceforge.net/projects/win32diskimager/
Extract the Win32DiskImager executable from the zip file and run the Win32DiskImager utility as administrator. (Right-click on the file, and select Run as administrator.)
Select the EDGE-Z10 or EDGE-Z20 image file (.img).
Select the drive letter of the SD card. Be careful to select the correct drive. If you select the wrong drive you can overwrite data on that drive. This could be another USB stick, or memory card connected to your computer, or your computer’s hard disk.
Click Write and wait for the write to complete.
Board Setup
- Set the J2 / Boot jumper to the SD position by placing the jumper over the top two pins of JP4 as shown in the image. (This sets the board to boot from the Micro-SD card)
- To power the EDGE board from the USB cable. USB power from PC is not sufficient for all the PYNQ applications. So provide the power source from external 5v USB adaptor.
- Insert the Micro SD card loaded with the EDGE-Z10 / EDGE-Z20 image into the Micro SD card slot underneath the board.
- Connect Ethernet to a Computer
You will need to have an Ethernet port available on your computer, and you will need to have permissions to configure your network interface. With a direct connection, you will be able to use PYNQ.
Connect directly to a computer (Static IP):
Assign your computer a static IP address
Connect the EDGE-Z10 / EDGE-Z20 to your computer’s Ethernet port
Browse to http://192.168.2.99:9090
- Slide the SW9 power switch to the ON position to turn on the board. The Red D11 LED will come on immediately to confirm that the board has power. After a few seconds, the Yellow/Green LED at Ethernet port will light up to show that the Zynq® device is operational. Wait for 30 seconds to complete PYNQ image boot from SD card.
Connecting to Jupyter Notebooks
Once your board is setup, to connect to Jupyter Notebooks open a web browser and navigate to:
- http://192.168.2.99 If your board is connected to a computer via a static IP address
If your board is configured correctly you will be presented with a login screen. The username is xilinx and the password is also xilinx.
After logging in, you will see the following screen:
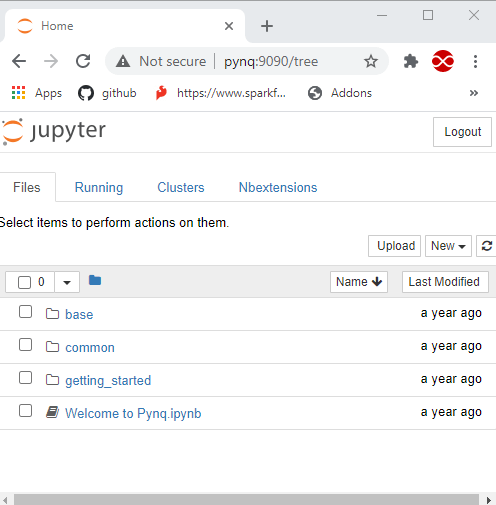
Example Notebooks
PYNQ uses the Jupyter Notebook environment to provide examples and documentation. Using your browser you can view and run the notebook documentation interactively.
The Getting_Started folder in the Jupyter home area includes some introductory Jupyter notebooks.
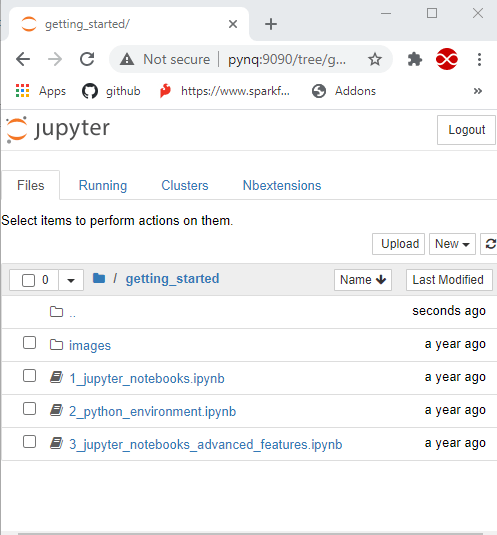
The example notebooks have been divided into categories
- common: examples that are not overlay specific
Depending on your board, and the PYNQ image you are using, other folders may be available with examples related to Overlays. E.g. The base directory will have examples related to the base overlay. If you install any additional overlays, a folder with example notebooks will usually be copied here.
When you open a notebook and make any changes, or execute cells, the notebook document will be modified. It is recommended that you “Save a copy” when you open a new notebook. If you want to restore the original versions, you can download all the example notebooks from GitHub.
Configuring PYNQ
Accessing Files on The Board
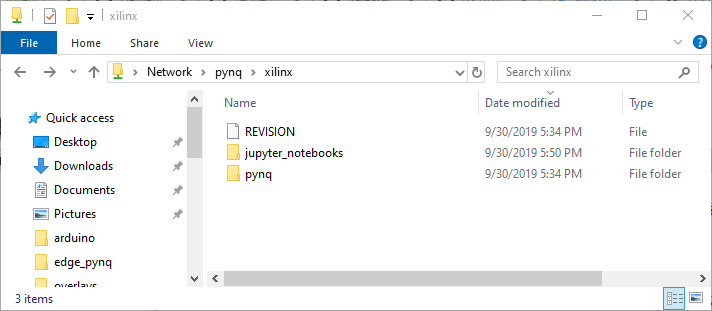
Samba, a file sharing service, is running on the board. This allows you to access the Pynq home area as a network drive, to transfer files to and from the board.
Note
In the examples below change the hostname or IP address to match your board settings.
To access the Pynq home area in Windows Explorer type one of the following in the navigation bar.
\\192.168.2.99\xilinx # If connected to a Computer with a Static IP
When prompted, the username is xilinx and the password is xilinx. The following screen should appear:
To access the home area in Ubuntu, open a file broswer, click Go –>; Enter Location and type one of the following in the box:
smb://192.168.2.99/xilinx # If connected to a Computer with a Static IP
When prompted, the username is xilinx and the password is xilinx
-
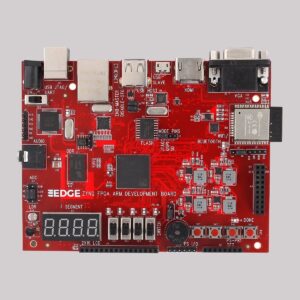 EDGE ZYNQ SoC FPGA Development Board₹ 17,500