This tutorial explains how to download and install free Webpack edition of Xilinx’s Vivado software.
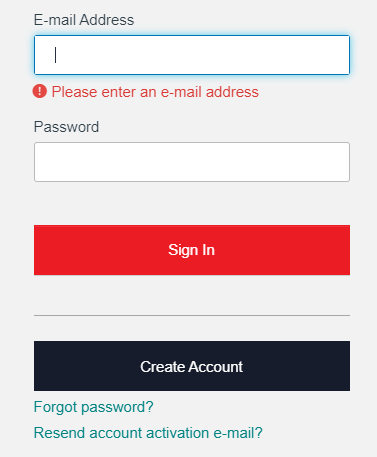
Step 1: Sign into your Xilinx account or create a Xilinx account to download the Vivado Design Suite using below link.
https://login.xilinx.com/app/xilinxinc_f5awsprod_1/exknv8ms950lm0Ldh0x7/sso/saml
Step 2: Now we have to download Vivado 2019.1 using below link
https://www.xilinx.com/support/download/index.html/content/xilinx/en/downloadNav/vivado-design-tools/2019-1.html
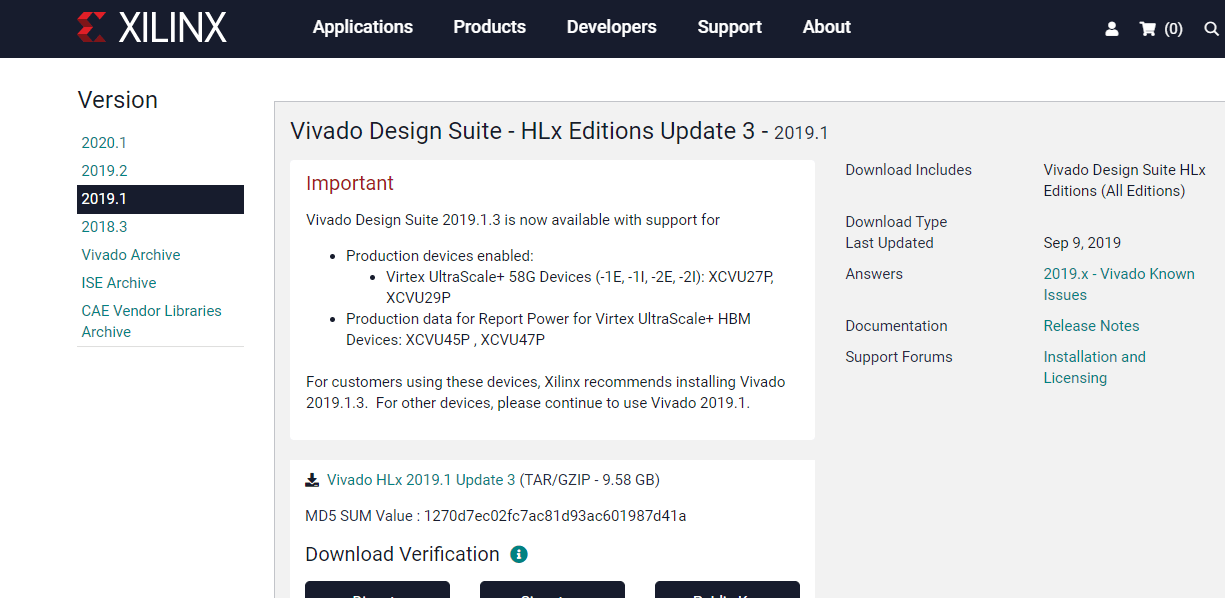
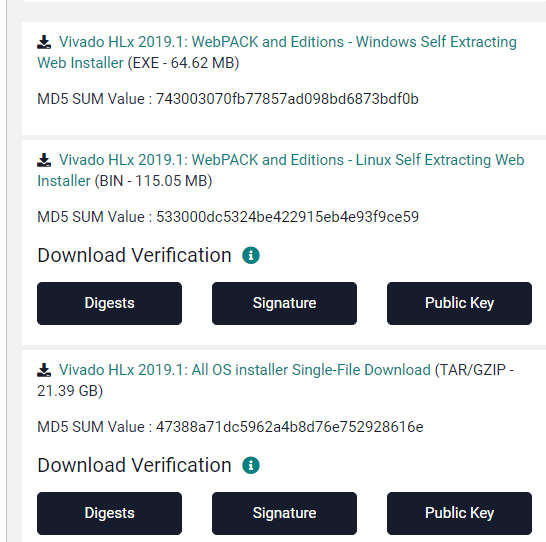
Step 3: Once you get the download page, choose the appropriate installer for your system. You can Choose “All OS installer single file download” without any selection. By choosing this, it will occupy more storage and increase the downloading time.
For that, I go for “WebPACK and Editions-Windows Self Extraction Web Installer”
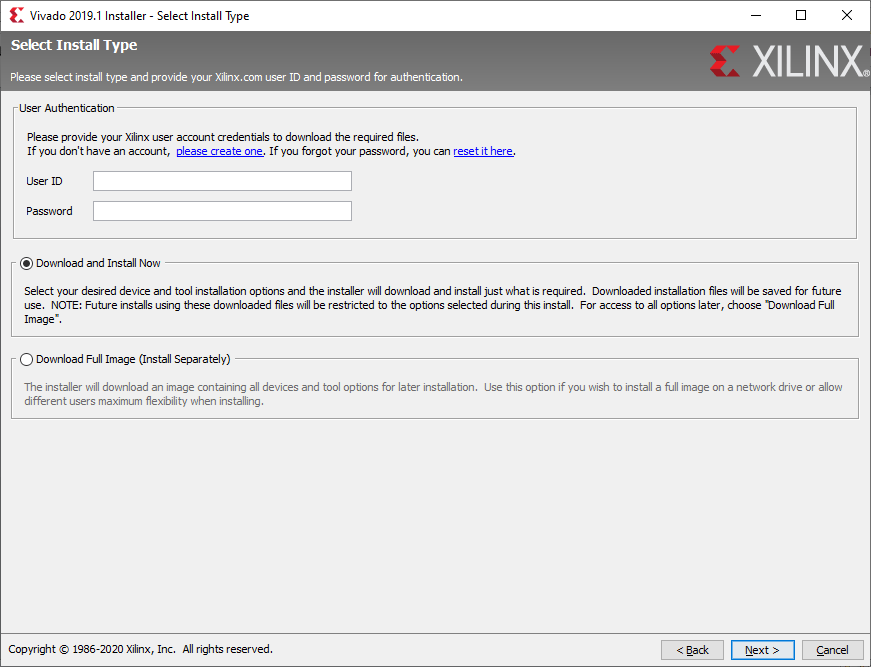
Step 4: Once you sign in, go ahead and let your chosen web installer download and let it run
![]()
Step 5: It will brought to a welcome screen where it asks you to confirm that you have compatible 64bit OS. Click Next.

Step 6: Xilinx will ask you to sign in again and choose how you want to download/install. Select “Download and Install now” option to customize the installation
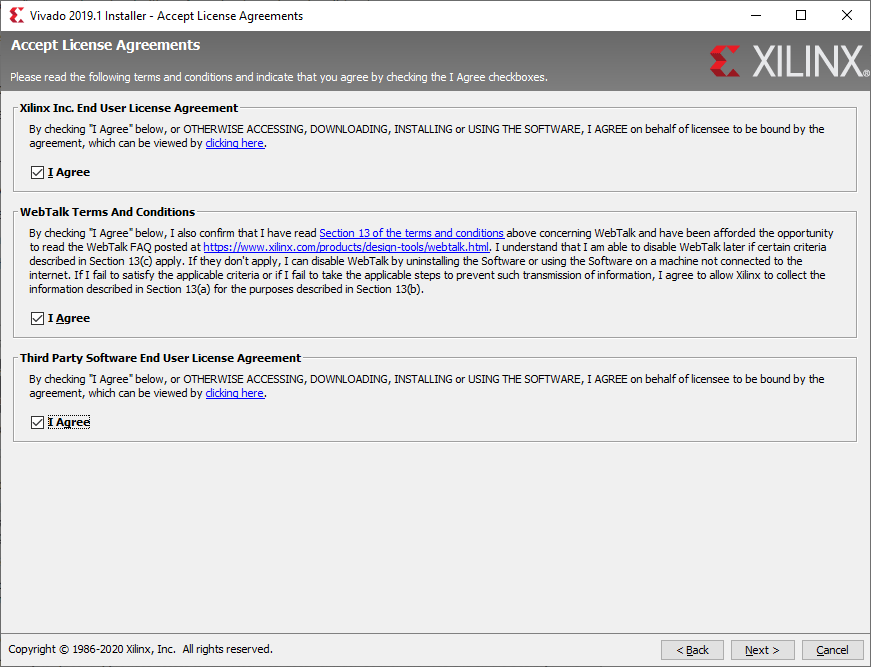
Step 7: Check all the options to accept the license agreements, terms and conditions
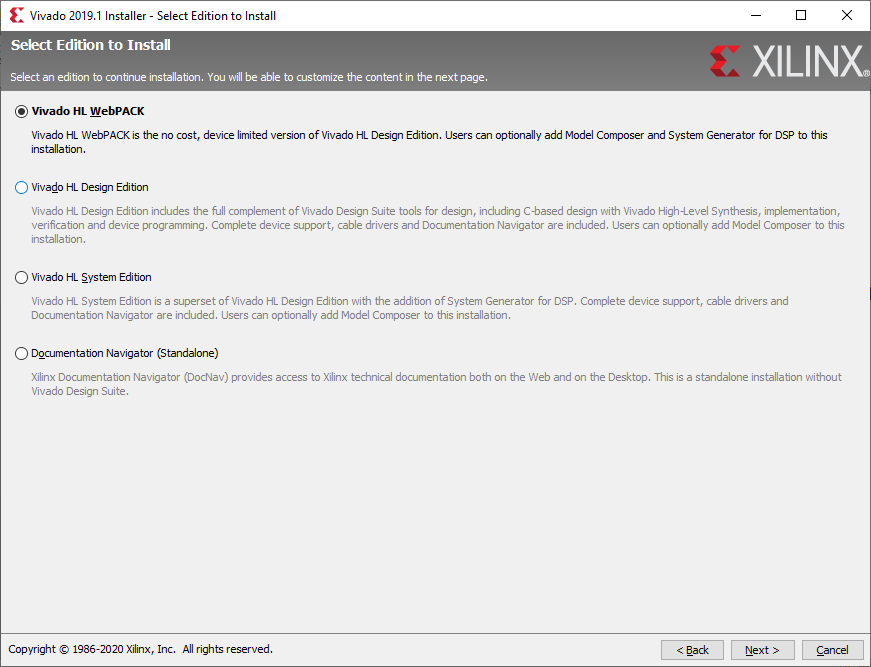
Step 8: Choose edition of the Xilinx’s Vivado Design Suite you wish to install. Select Vivado HL WebPACK Edition for free download and licensing
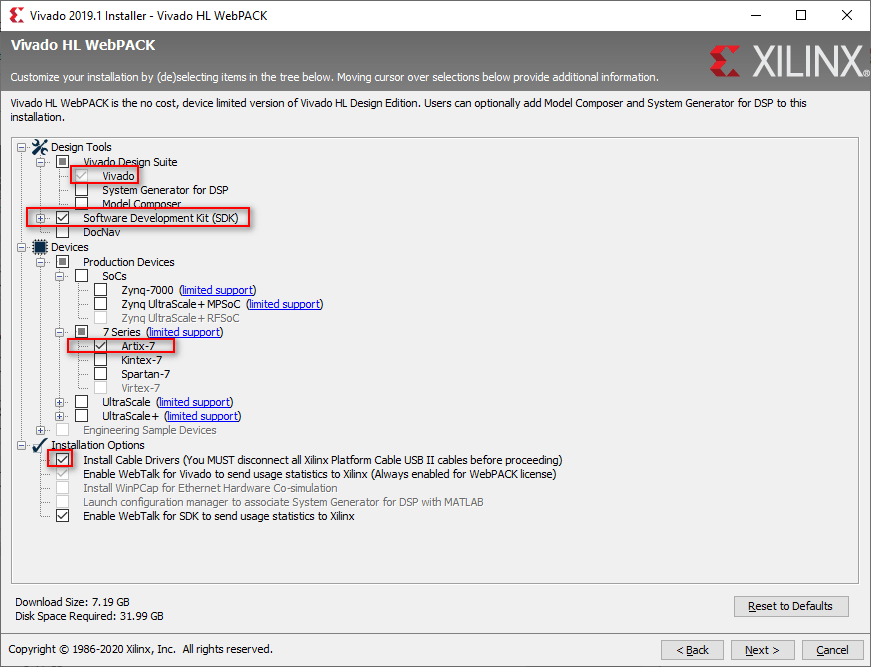
Step 9: The next page lets you choose some specifics of what to install with the Vivado HL WebPACK edition. Select the required tools and devices to be installed.
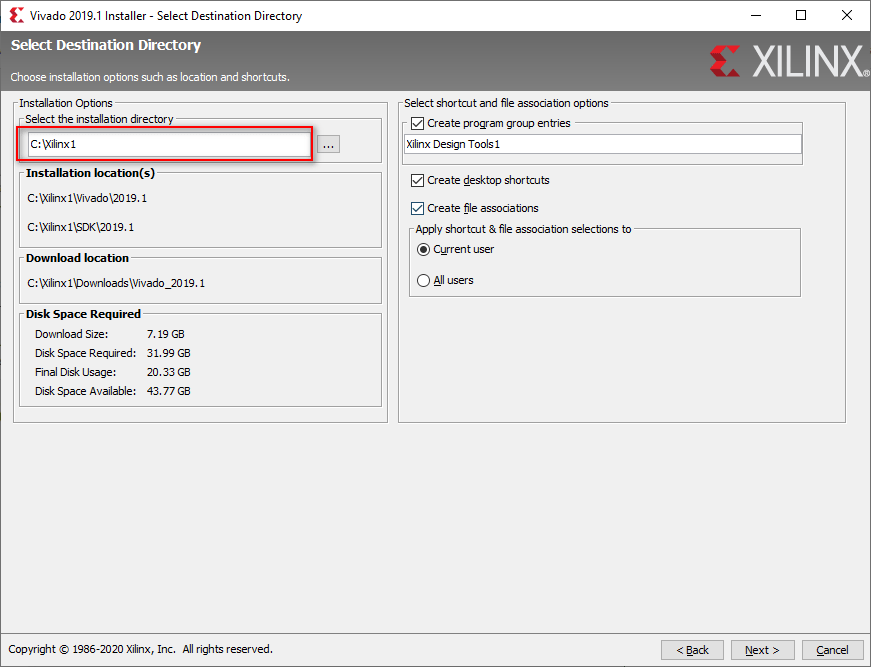
Step 10: Select Vivado installation directory and make sure enough space is available on the drive.
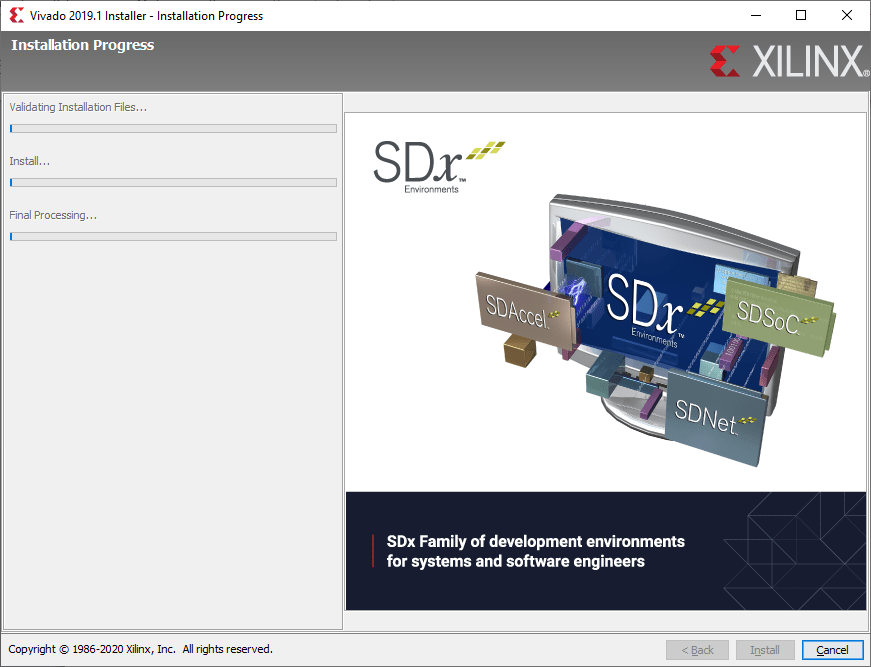
Step 11: Final screen summarizes your selection. Click install, now the installer automatically download and install Vivado Webpack tool.

Step 12: Once it is done downloading the files, it will automatically install them using the settings you gave it earlier.
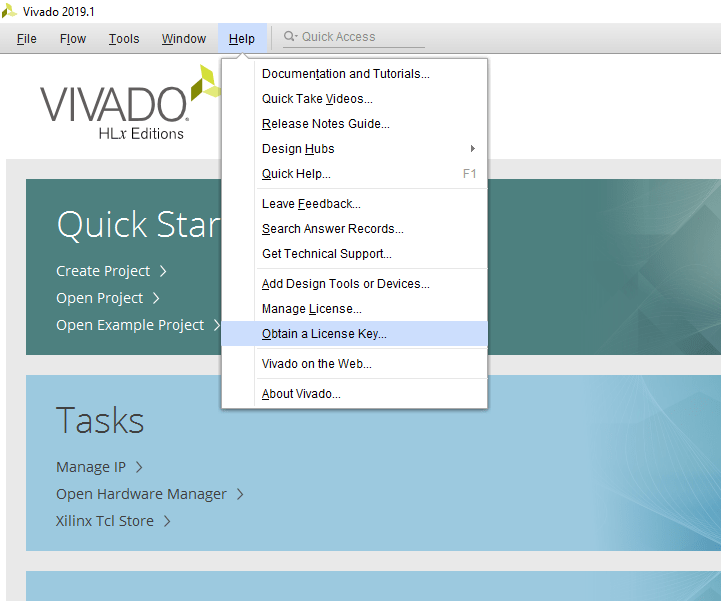
Step 13: Once downloaded and installed, you must obtain a license through their license manager. If the license manager window is not already open, you can find it by either searching your start menu for “Manage Xilinx Licenses” or by clicking “Obtain a License Key” under the “Help” toolbar in Vivado.
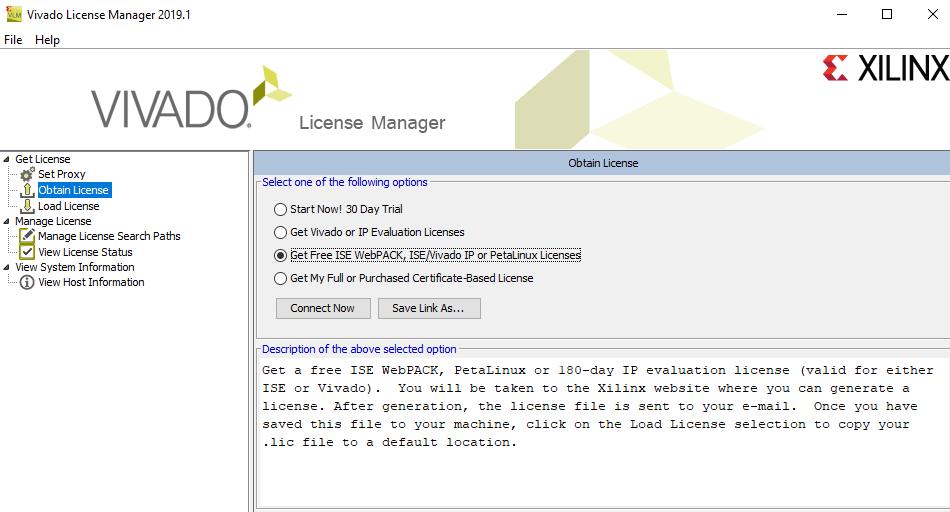
Step 14: This will open up the License Manager. Under “Obtain License” click the “Get Free Licenses – Vivado WebPACK, SDK, free IP and more” bullet and click “Connect Now
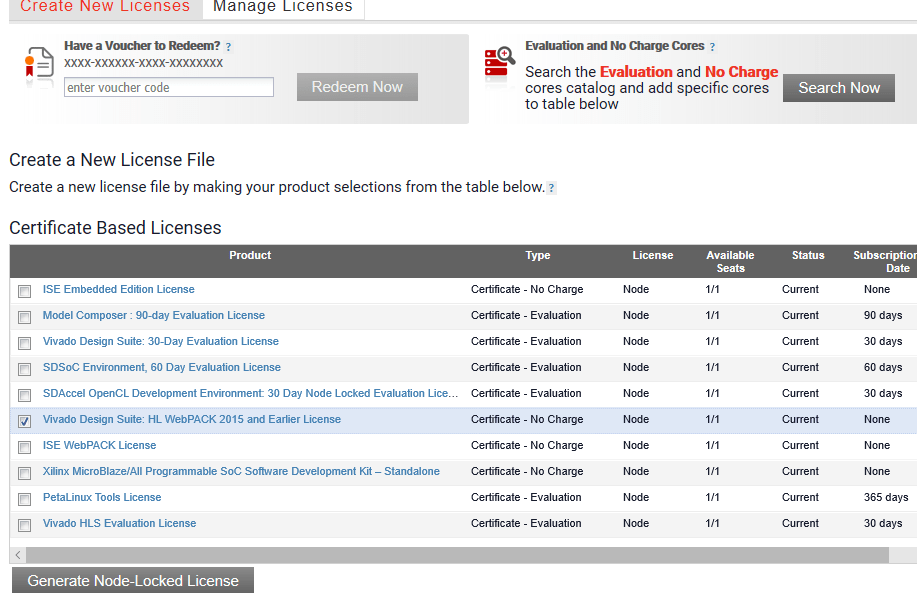
Step 15: This will open up your internet browser. After confirming your account details and clicking “Next”, you will see the Xilinx license creator. Check the “Vivado design suite: HL Webpack 2015 and earlier license” and Click Generate Node-Locked License.
Step 17: Now, it will open the License Generator.
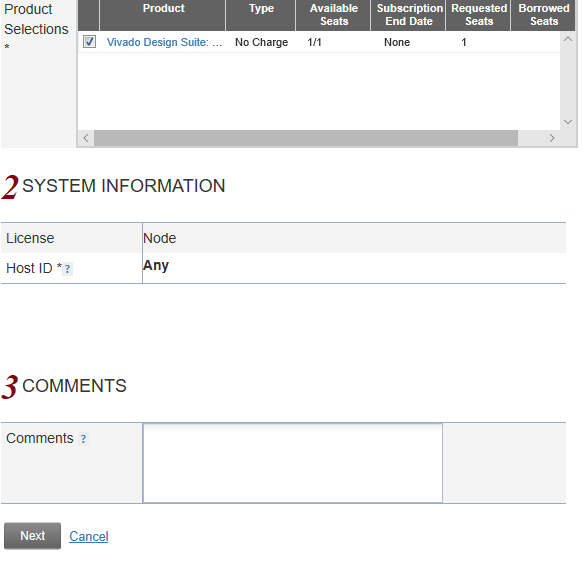
Step 18: Click “Next” to review your request.
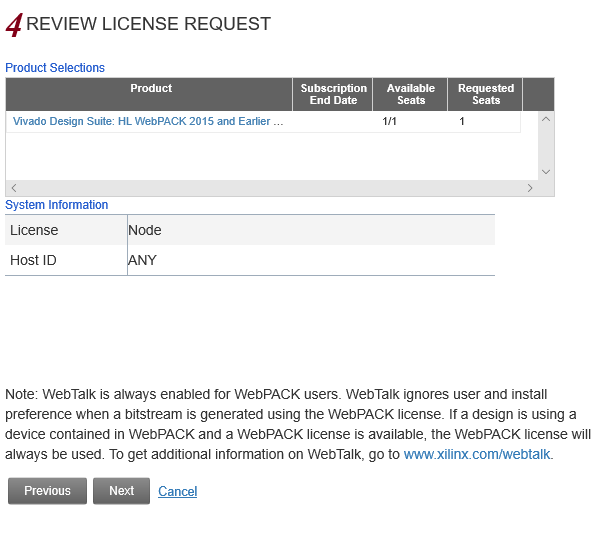
Step 19: Click Next and you should see the below screen. Now the Web edition should be activated.

Now you get the license file from the Xilinx to your registered mail ID. Download the license file (Xilinx.lic) and go back to the Vivado License manager 2019.1.
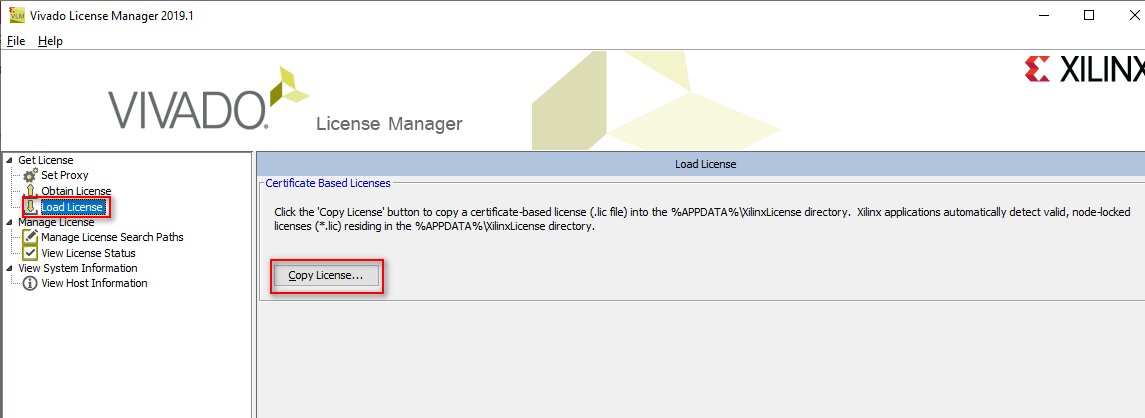
In this Window, click on load license and load the license that you have downloaded by click on the Copy License option.
Finally, you will get the License installation successful message. So, now the Vivado is ready for work.
The next step follow getting started with the vivado design suite tutorial for software working.
https://allaboutfpga.com/getting-started-with-vivado-design-suite-for-edge-artix-7-fpga-kit/
-
 EDGE Spartan 7 FPGA Development Board₹ 10,500
 -
 EDGE ZYNQ SoC FPGA Development Board₹ 17,500
 -
 EDGE Artix 7 FPGA Development Board₹ 13,750